Project 01: Continuous Integration and Deployment (CI/CD) with Jenkins and ArgoCD

Aspiring DevOps Engineer, Certified AWS Solutions Architect - Associate
In today's fast-paced software development landscape, implementing a robust Continuous Integration and Deployment (CI/CD) pipeline is essential.
This blog post demonstrates creating a declarative CI/CD pipeline using Jenkins, Maven, SonarQube, Docker, ArgoCD and Kubernetes. We'll walk through each stage of the pipeline, from building and testing the application to analyzing code quality and finally deploying the application using ArgoCD to the Kubernetes cluster. So, let's dive in!
Create a virtual instance with a minimum 2CPU and 8GB memory--->
I have created AWS EC2 Instance with 2cpu 8gb ram - Ubuntu 22.04 base image
Create your EC2 instance - Amazon

Setup Jenkins server and Docker on your EC2 instance--->
How to install Jenkins and Docker on local environment

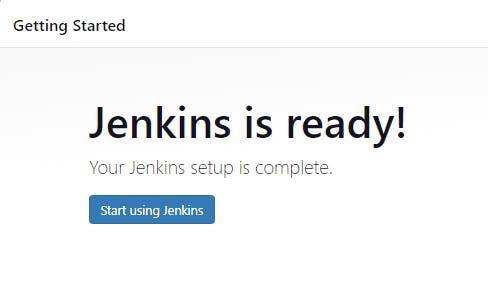
Setup your Jenkins server to get started!
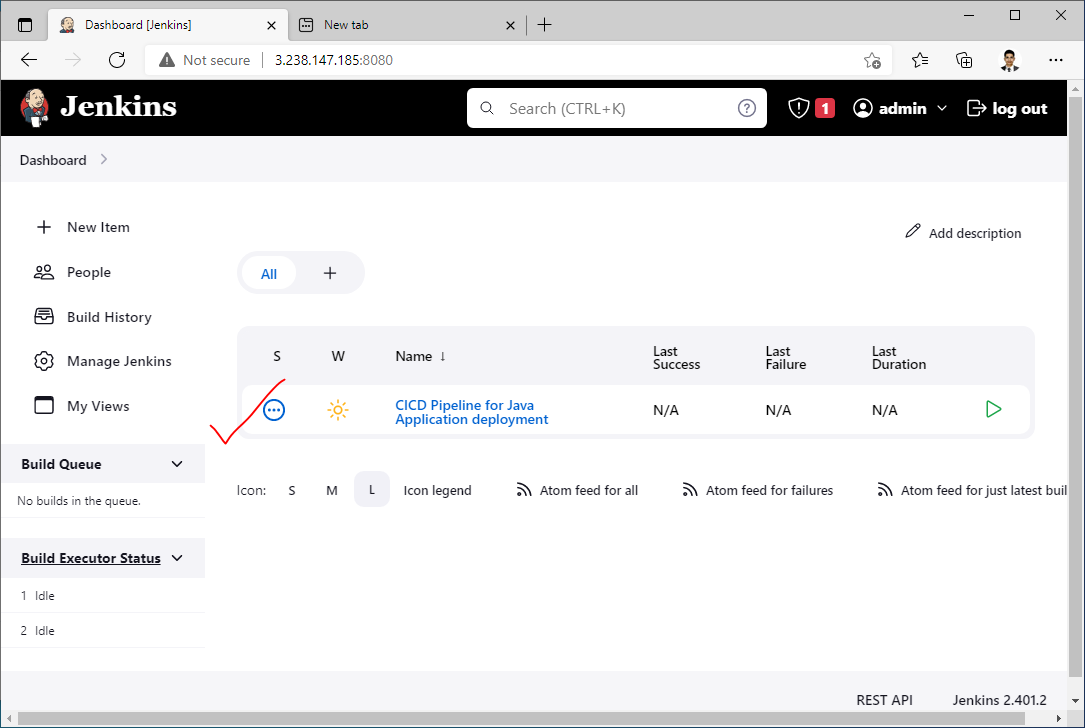
Create a pipeline in Jenkins--->


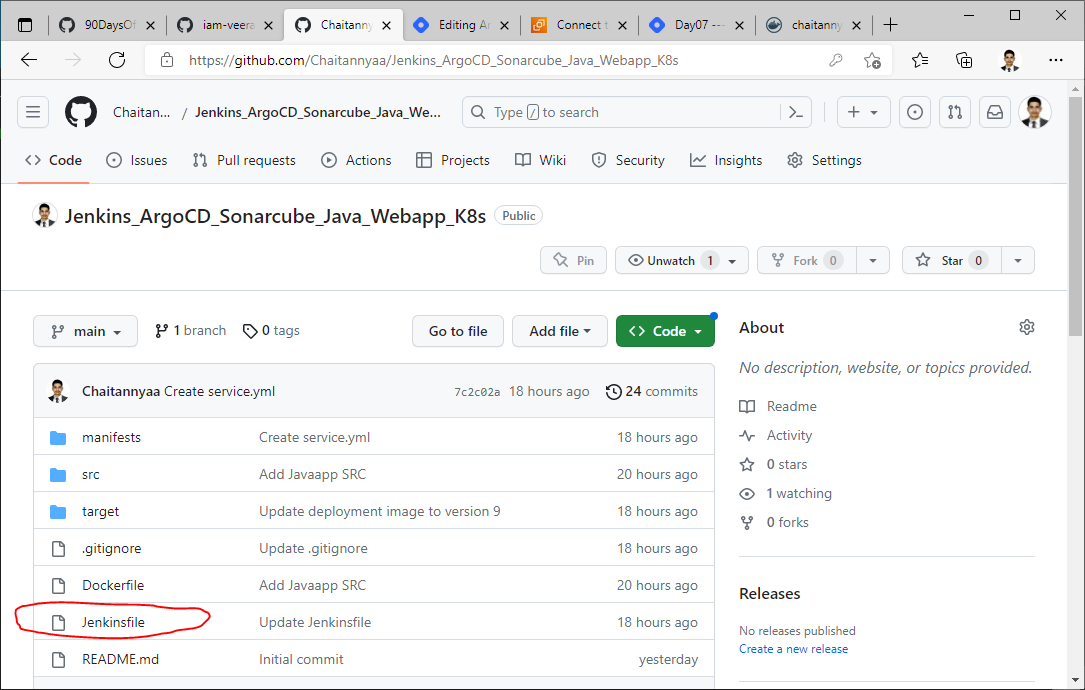
GitHub Repository URL for this project
Configure WebHook for this GitHub repo to trigger our pipeline automatically


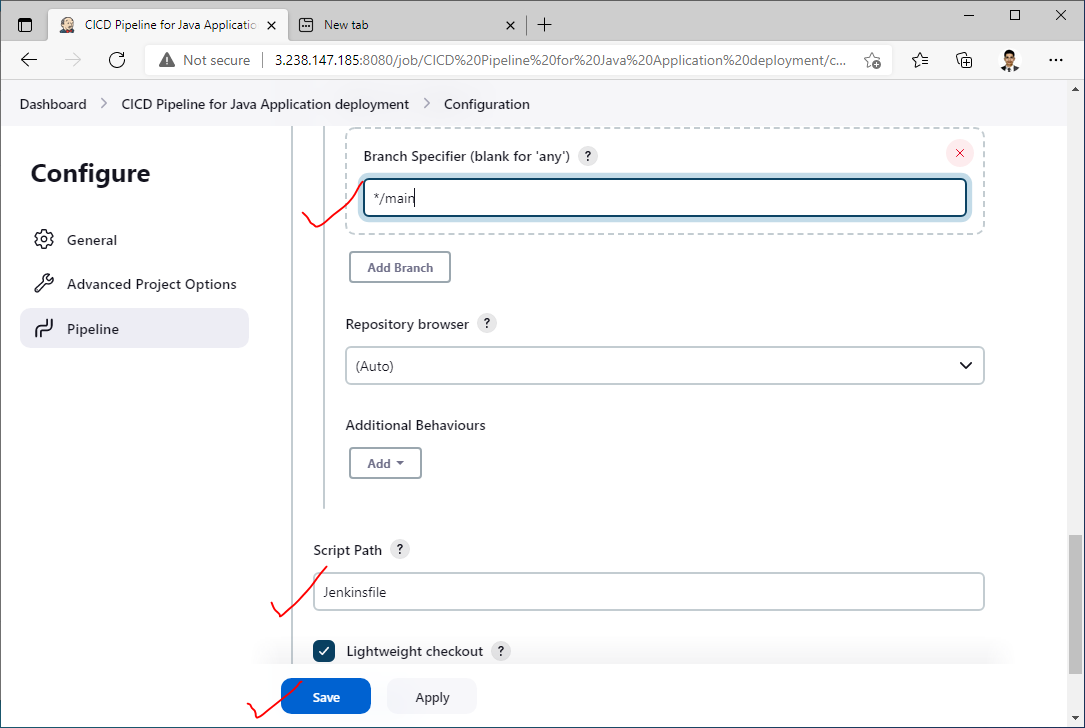
Configure a declarative pipeline by selecting the definition as "Pipeline script from SCM"

Let's understand the Jenkinsfile stages--->
Take all pipeline stages step by step :
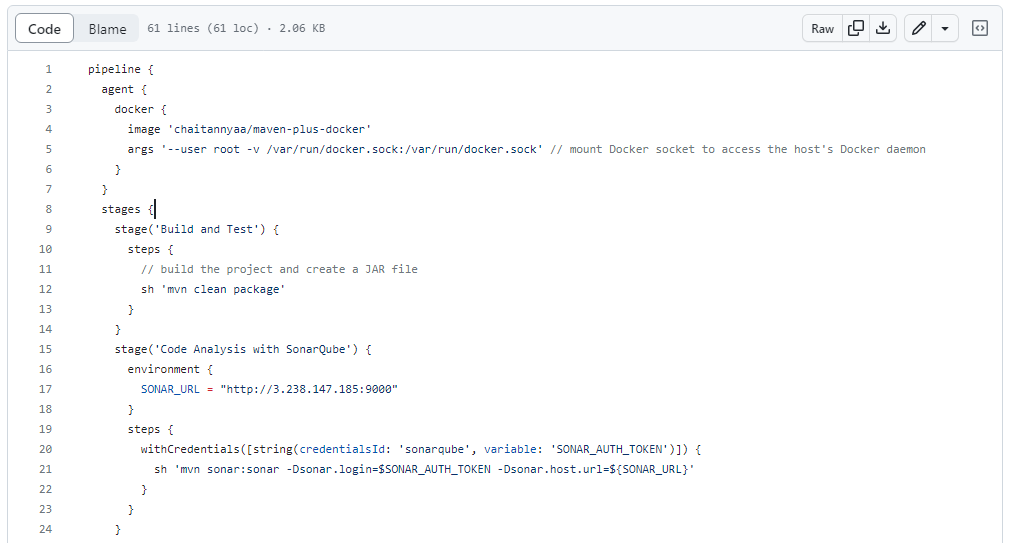
Setting Up the Environment->
To start with, let's configure the pipeline agent using Docker. We'll use the chaitannyaa/maven-plus-docker image, which includes Maven and Docker.
pipeline {
  agent {
    docker {
      image 'chaitannyaa/maven-plus-docker'
      args '--user root -v /var/run/docker.sock:/var/run/docker.sock'
    }
  }
}
By mounting the Docker socket, we gain access to the host's Docker daemon from within the pipeline, allowing us to build and push Docker images seamlessly.
Build and Test Stage->
The first stage of our pipeline is to build and test the project. We'll use Maven to clean the project and package it into a JAR file.
pipeline {
  stages {
    stage('Build and Test') {
      steps {
        sh 'mvn clean package'
      }
    }
  }
}
This step ensures that the application is error-free and ready for deployment.
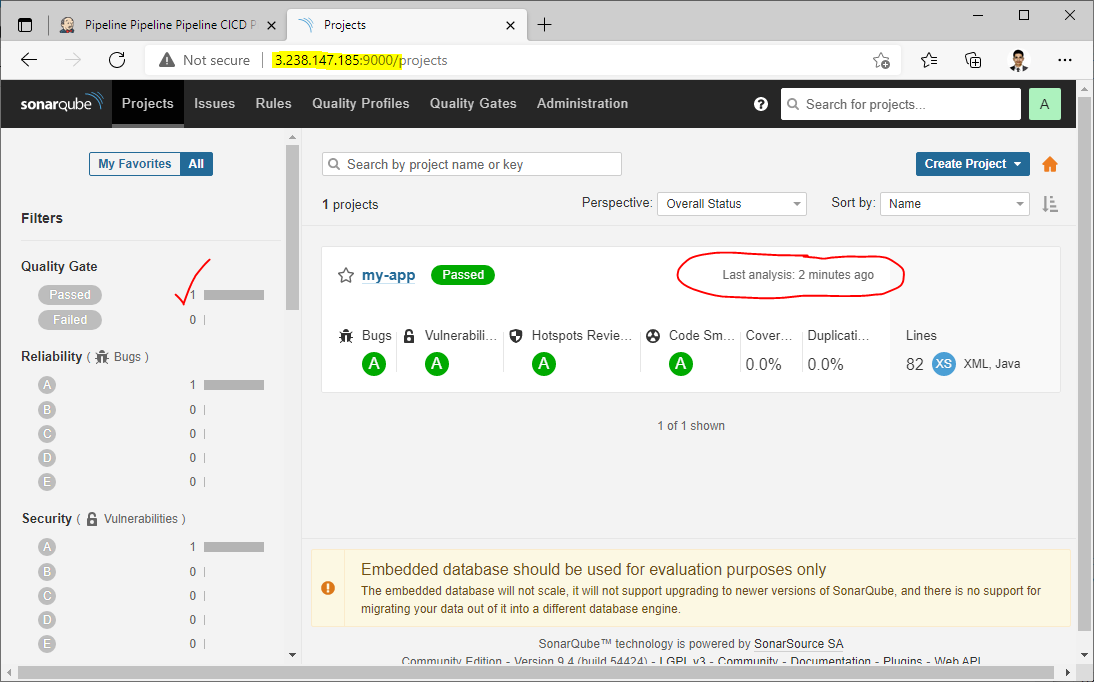
Code Analysis with SonarQube->
To ensure high code quality, we'll integrate SonarQube into our pipeline. SonarQube analyzes the codebase and provides valuable insights and metrics.
pipeline {
  stages {
    stage('Code Analysis with SonarQube') {
      environment {
        SONAR_URL = "http://Sonarqube_server_IP:9000"
      }
      steps {
        withCredentials([string(credentialsId: 'sonarqube', variable: 'SONAR_AUTH_TOKEN')]) {
          sh 'mvn sonar:sonar -Dsonar.login=$SONAR_AUTH_TOKEN -Dsonar.host.url=${SONAR_URL}'
        }
      }
    }
  }
}
In this stage, we set the SonarQube URL and authenticate using the provided token.
Running the sonar:sonar command triggers code analysis, enabling us to track and improve code quality continuously.
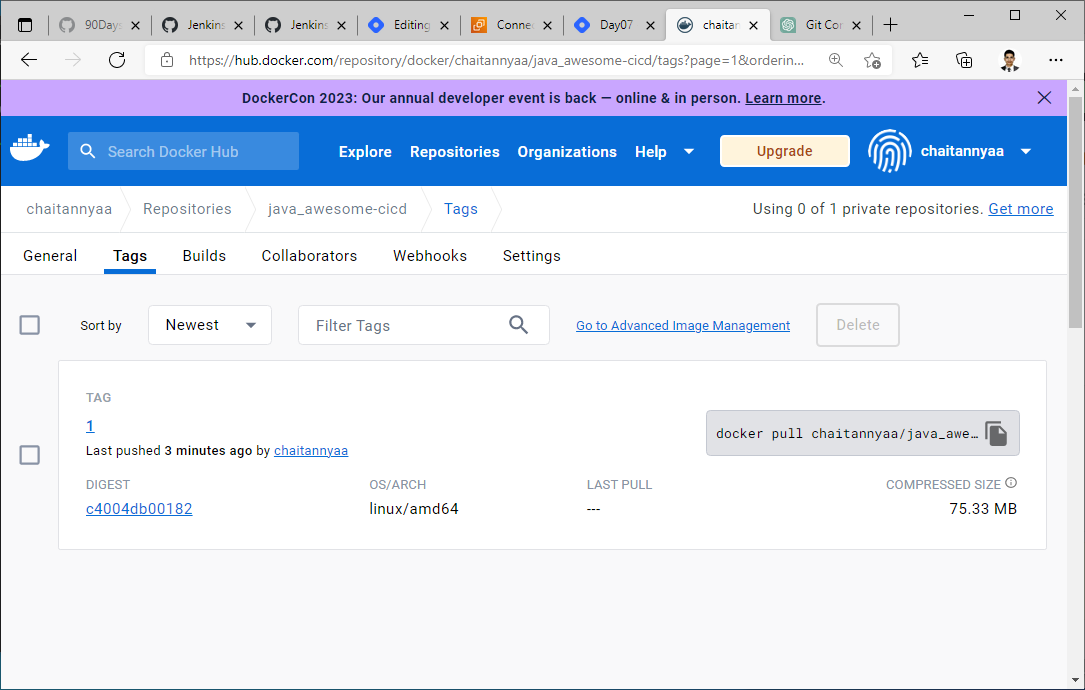
Build and Push Docker Image->
Next, we'll build a Docker image for our application and push it to a container registry. This allows us to easily distribute and deploy the application in a containerized environment.
pipeline {
  stages {
    stage('Build and Push Docker Image') {
      environment {
        DOCKER_IMAGE = "chaitannyaa/java_awesome-cicd:${BUILD_NUMBER}"
        REGISTRY_CREDENTIALS = credentials('dockerHub')
      }
      steps {
        script {
          sh 'docker build -t ${DOCKER_IMAGE} .'
          def dockerImage = docker.image("${DOCKER_IMAGE}")
          docker.withRegistry('https://index.docker.io/v1/', "dockerHub") {
            dockerImage.push()
          }
        }
      }
    }
  }
}
In this stage, we define the Docker image name based on the project and build number. After building the image, we authenticate with the container registry using the provided credentials and push the image for later deployment.
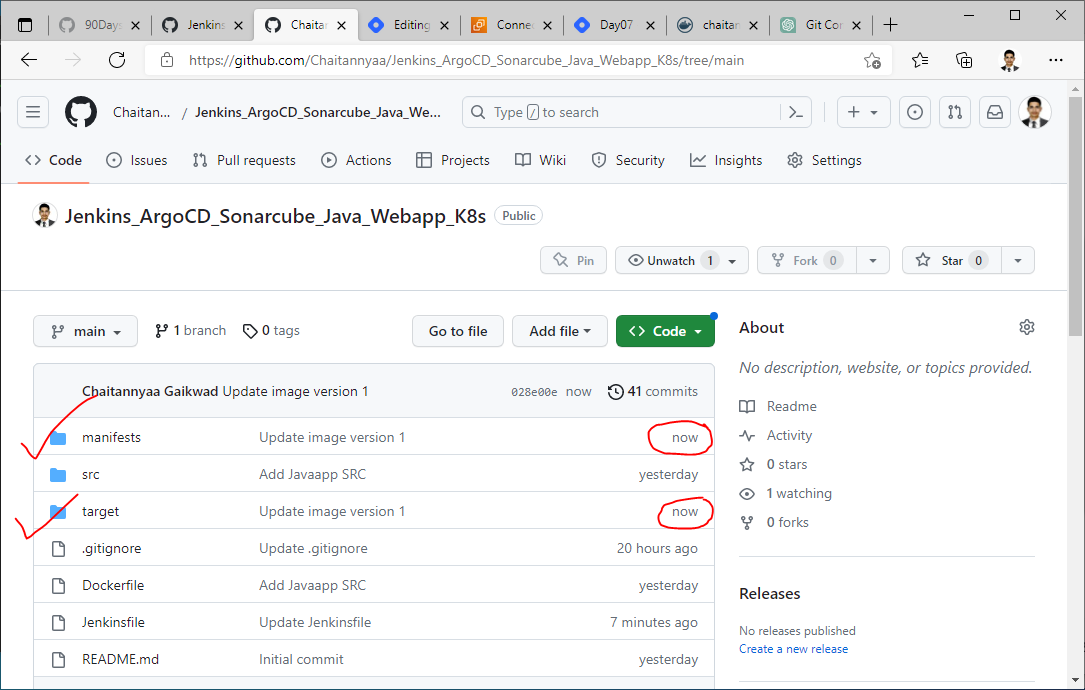
Update Deployment File->
Finally, we'll update the deployment file with the new image tag and push the changes to a Git repository.
This triggers the deployment process and ensures that the latest version of our application is deployed to the Kubernetes cluster.
pipeline {
  stages {
    stage('Update Deployment File') {
      environment {
        GIT_REPO_NAME = "Jenkins_ArgoCD_Sonarcube_Java_Webapp_K8s"
        GIT_USER_NAME = "Chaitannyaa"
      }
      steps {
        withCredentials([string(credentialsId: 'github', variable: 'GITHUB_TOKEN')]) {
          sh '''
            git config user.email "crmg26696@gmail.com"
            git config user.name "Chaitannyaa Gaikwad"
            BUILD_NUMBER=${BUILD_NUMBER}
            sed -i "s/replaceImageTag/${BUILD_NUMBER}/g" manifests/deployment.yml
            git add .
            git commit -m "Update deployment image to version ${BUILD_NUMBER}"
            git push https://${GITHUB_TOKEN}@github.com/${GIT_USER_NAME}/${GIT_REPO_NAME} HEAD:main
          '''
        }
      }
    }
  }
}
In this stage, we configure the Git repository details, update the deployment file with the new image tag, and commit and push the changes. This triggers a deployment process in ArgoCD, ensuring that the latest changes are propagated to the target environment [Kubernetes cluster].
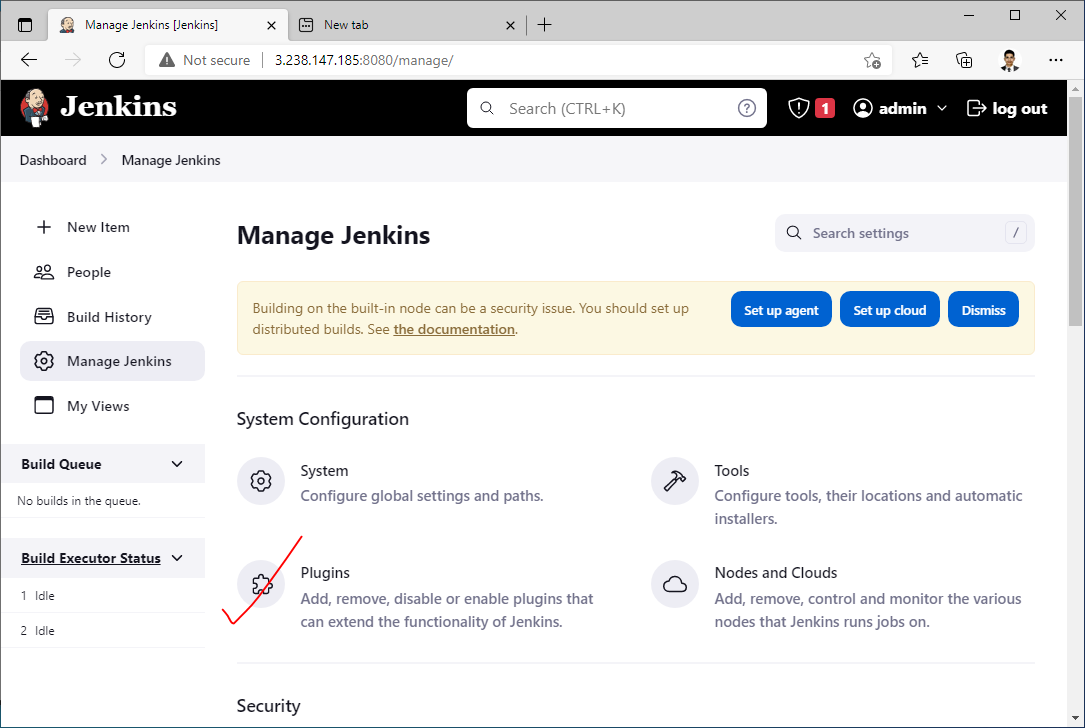
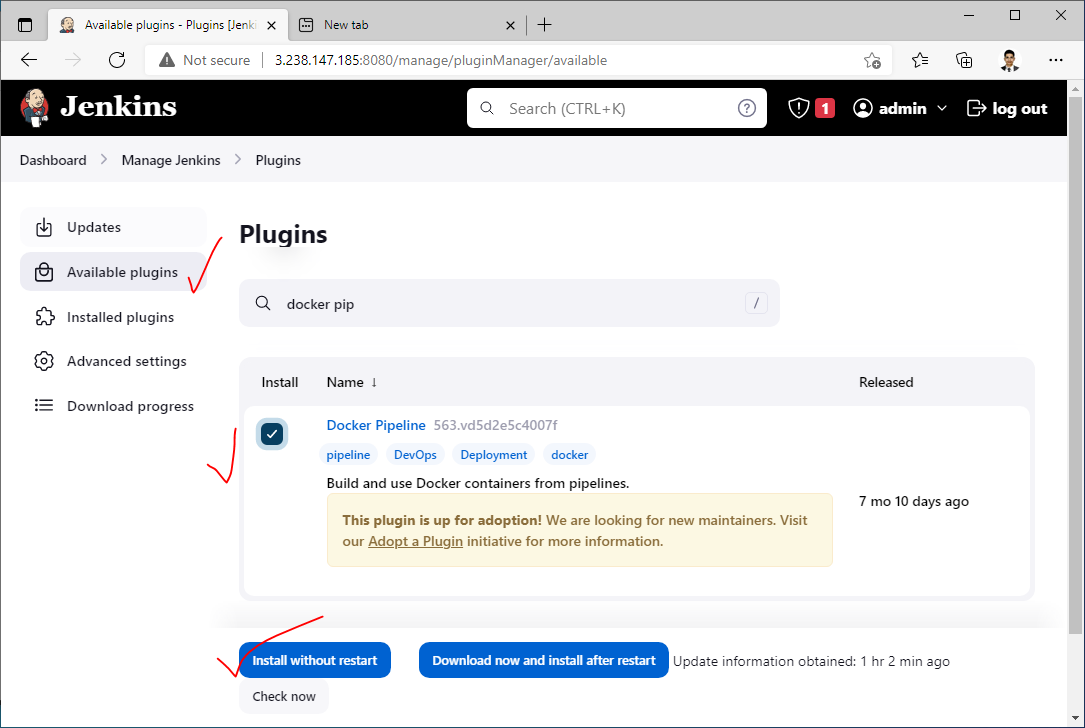
We need Jenkins Plugins to run our pipeline stages So install them--->

Install "Docker Pipeline" plugin to use docker agent
Install "SonarQube Scanner" plugin to use it in pipeline

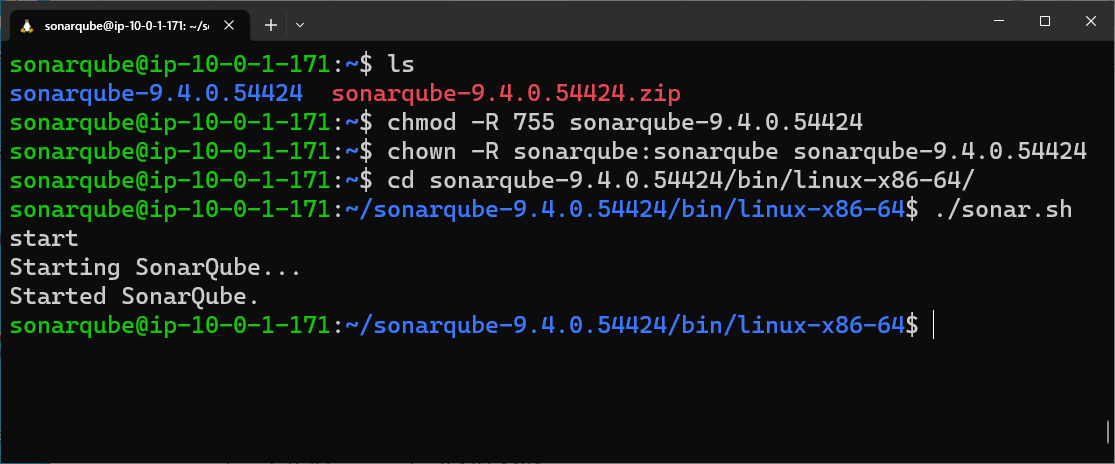
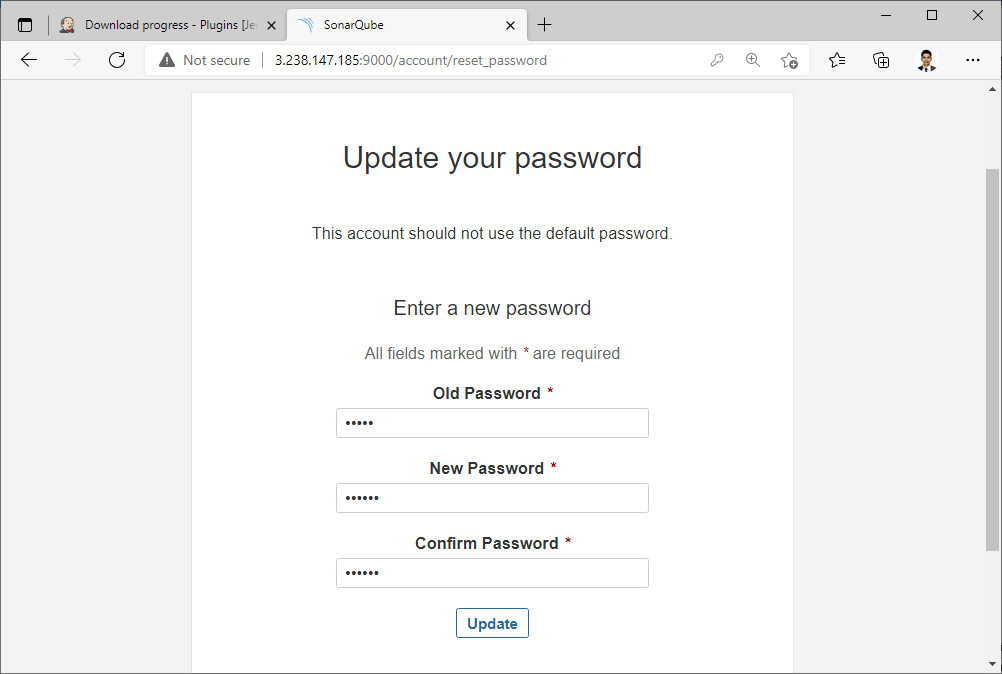
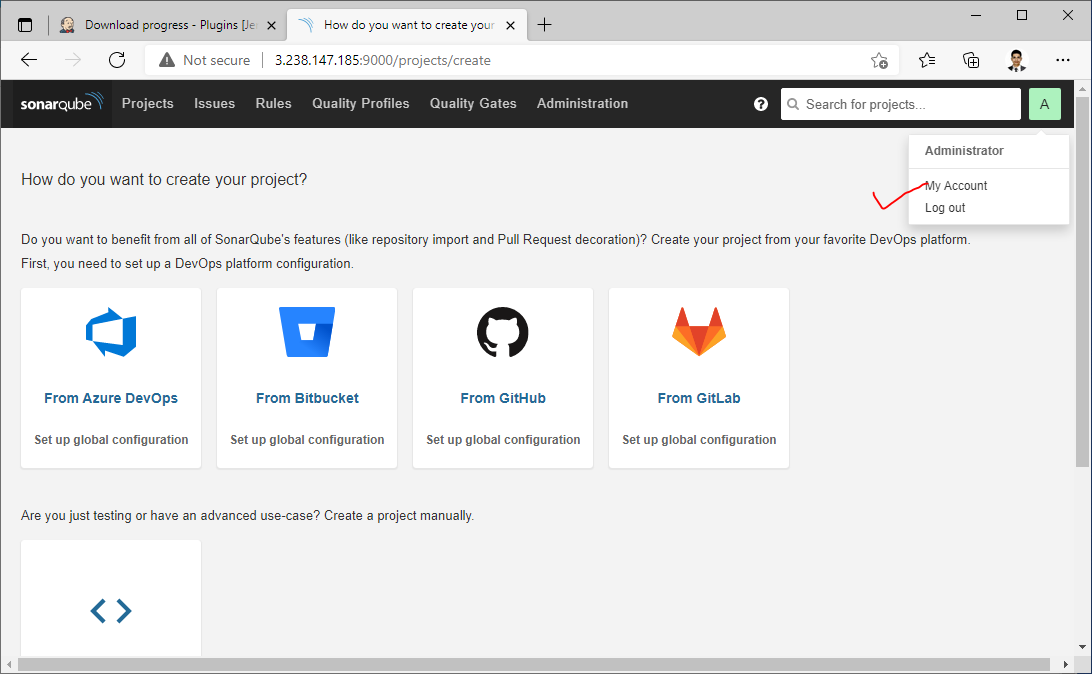
Now Install the SonarQube server on Ec2 Instance and configure it for Jenkins--->
sudo apt install unzip
adduser sonarqube

wget https://binaries.sonarsource.com/Distribution/sonarqube/sonarqube-9.4.0.54424.zip

unzip *
chmod -R 755 sonarqube-9.4.0.54424
chown -R sonarqube:sonarqube sonarqube-9.4.0.54424
cd sonarqube-9.4.0.54424/bin/linux-x86-64/
./sonar.sh start

Create Secret Access token for Jenkins to communicate sonarqube server->

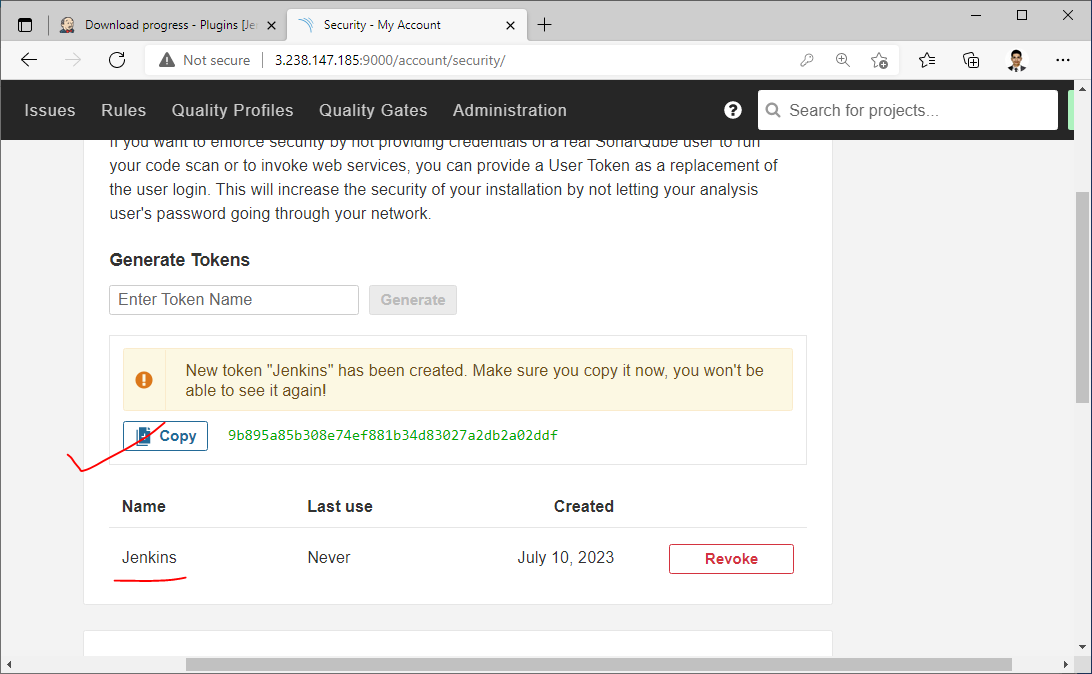
Insert SonorQube credentials into Jenkins->


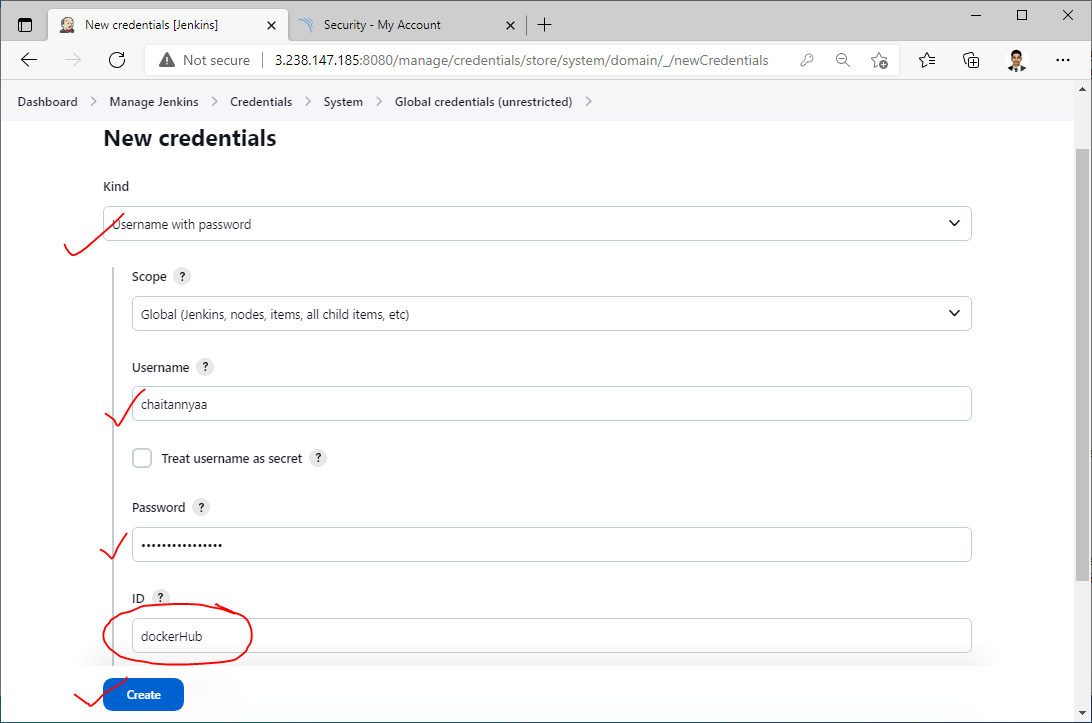
Next, add DockerHub credentials for Pushing docker images to our docker registry->
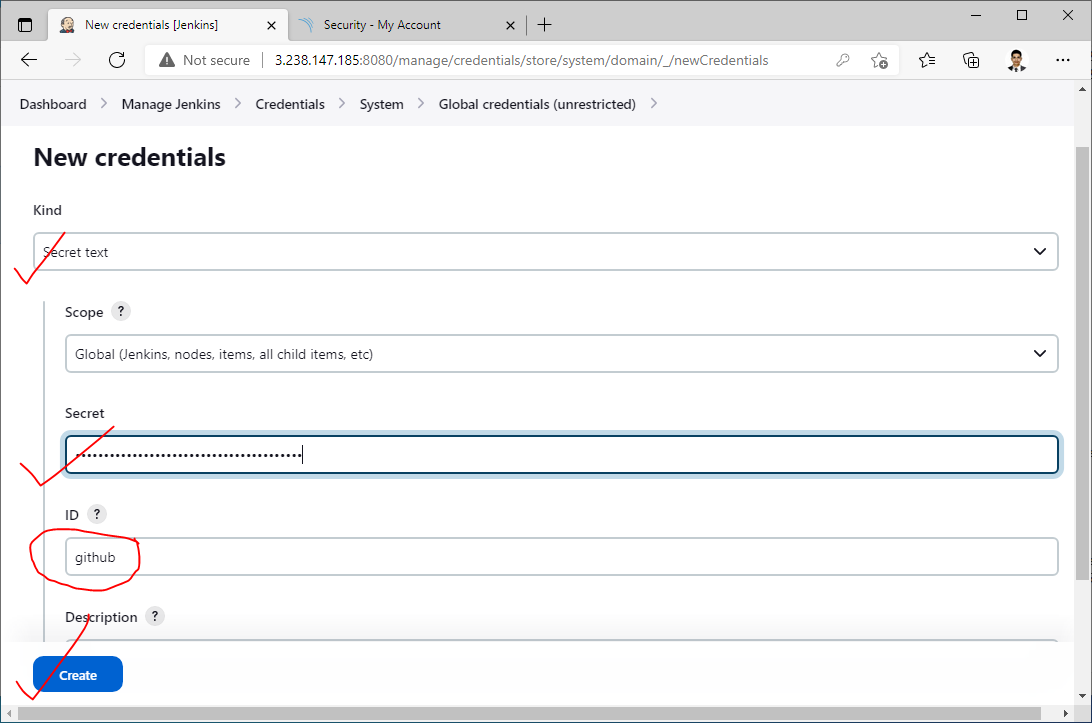
Next, add GitHub PAT for committing code changes to the GitHub repository from Jenkins ->
Personal Access Tokens (Classic) (github.com)


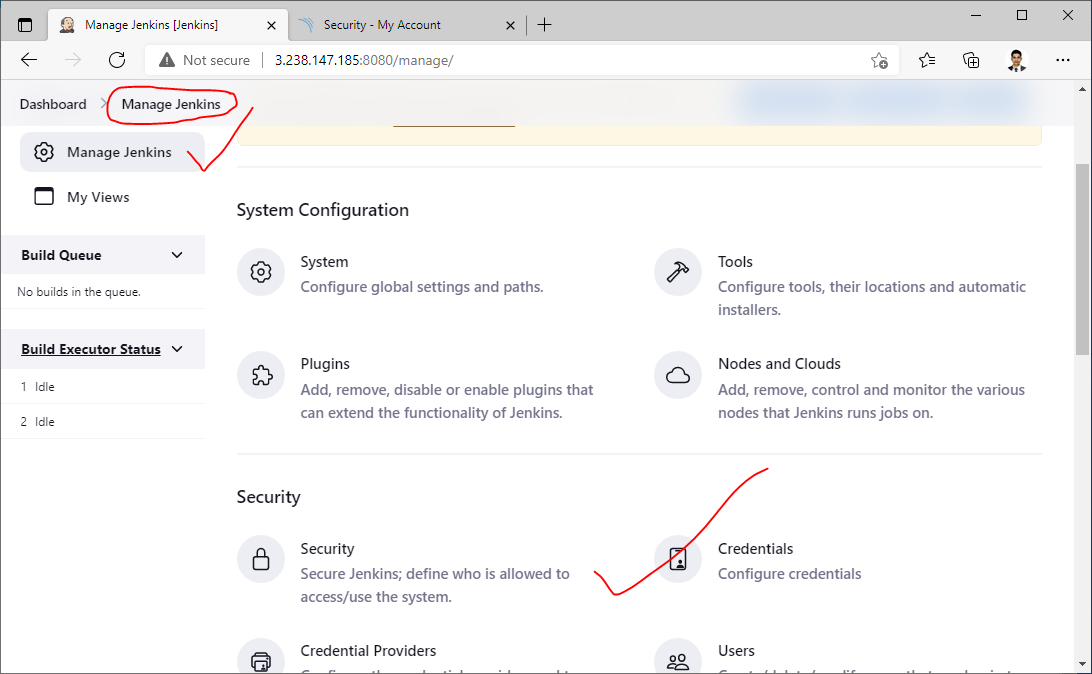
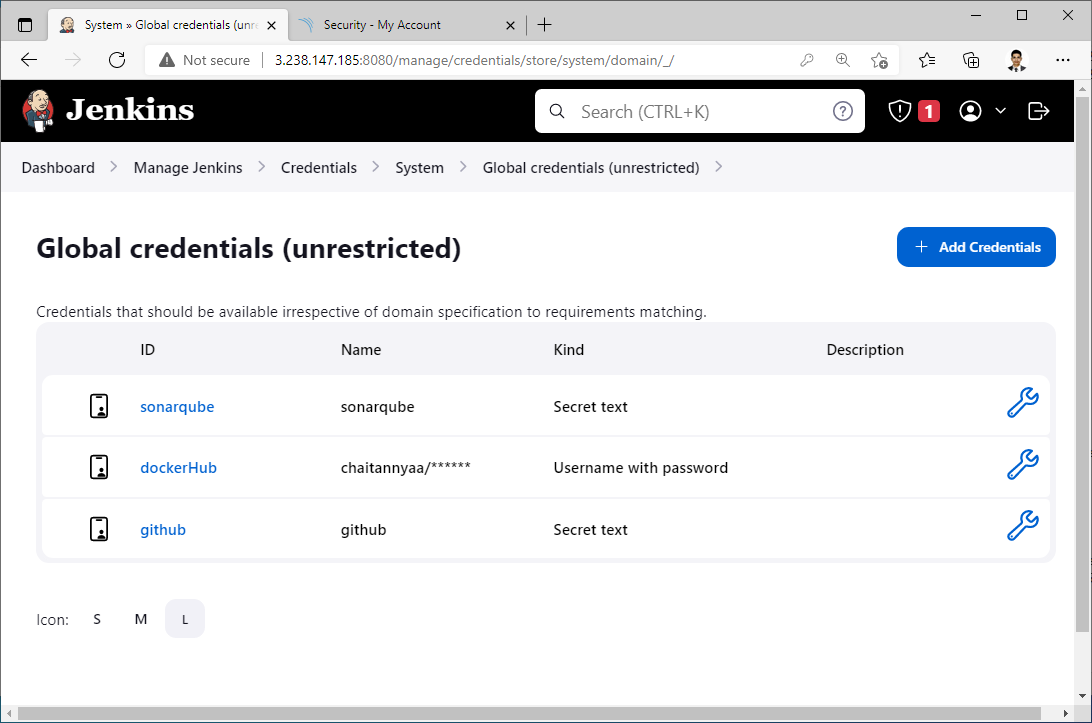
Here, We have added all required credentials to Jenkins->
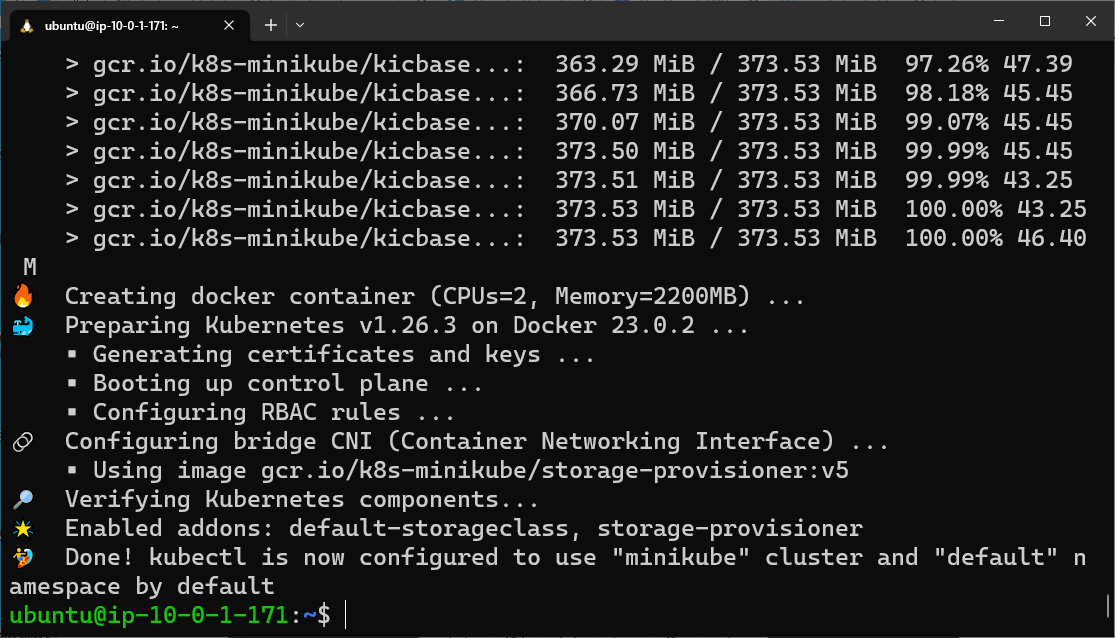
Install Kubernetes cluster on the local environment for our deployment->
minikube start | minikube (k8s.io)
Follow the guidelines given in below link:
Install Minikube for Getting K8s Cluster ready for this project
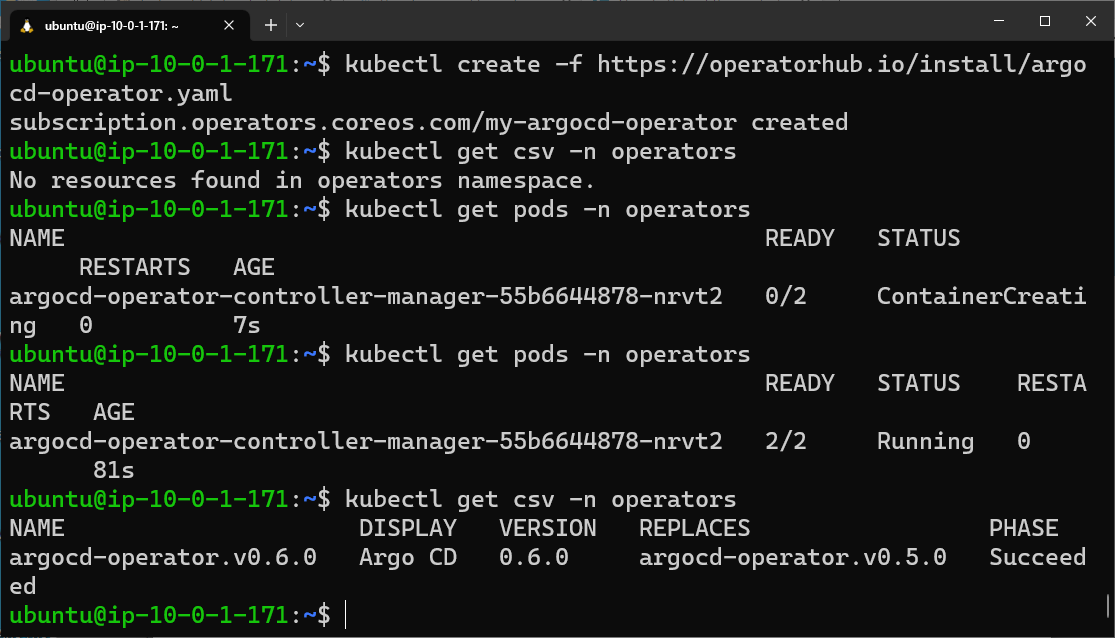
Install ArgoCD operator to automate of app deployment--->
What is ArgoCD?
Argo CD is an open-source GitOps continuous delivery tool. It monitors your cluster and your declaratively-defined infrastructure stored in a Git repository and resolves differences between the two — effectively automating an application deployment.
OperatorHub.io | The registry for Kubernetes Operators


Let's test our Jenkins pipeline--->
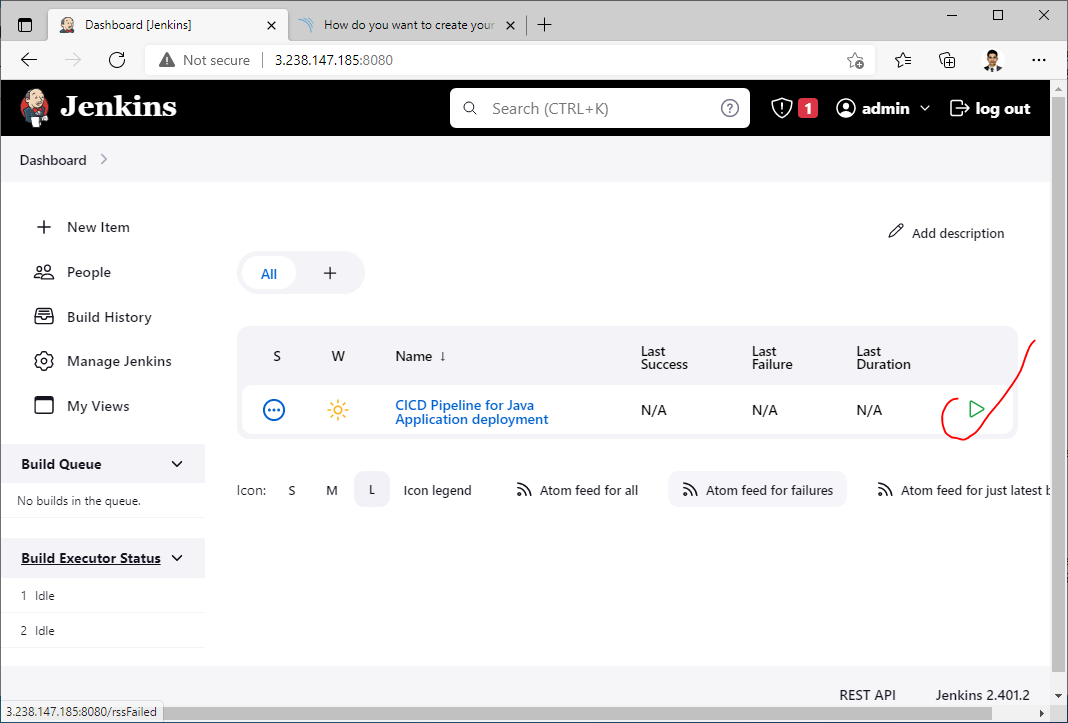

Check last stage "Update Deployment File" worked fine or not?
Check second last stage "Build & Push Docker Image" worked fine or not?
Check "Code Analysis with SonarQube" stage worked fine or not?
Next is our Continous Deployment part using ArgoCD
Basics - Argo CD Operator (argocd-operator.readthedocs.io)
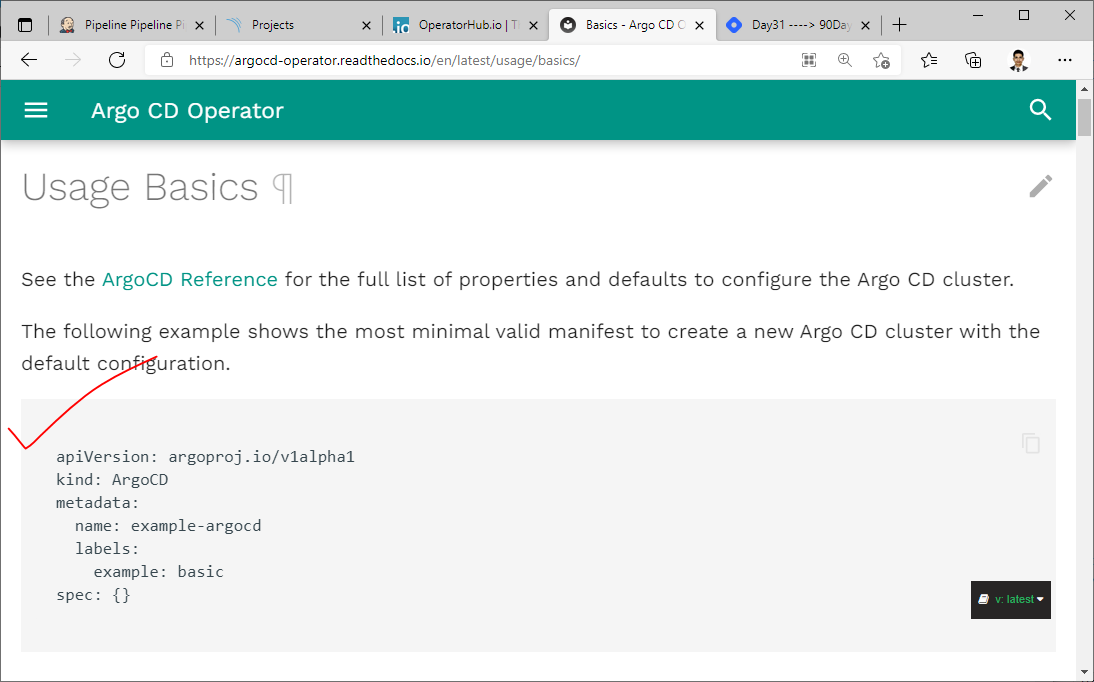
Add the above default configuration to argocd-basic.yml file.
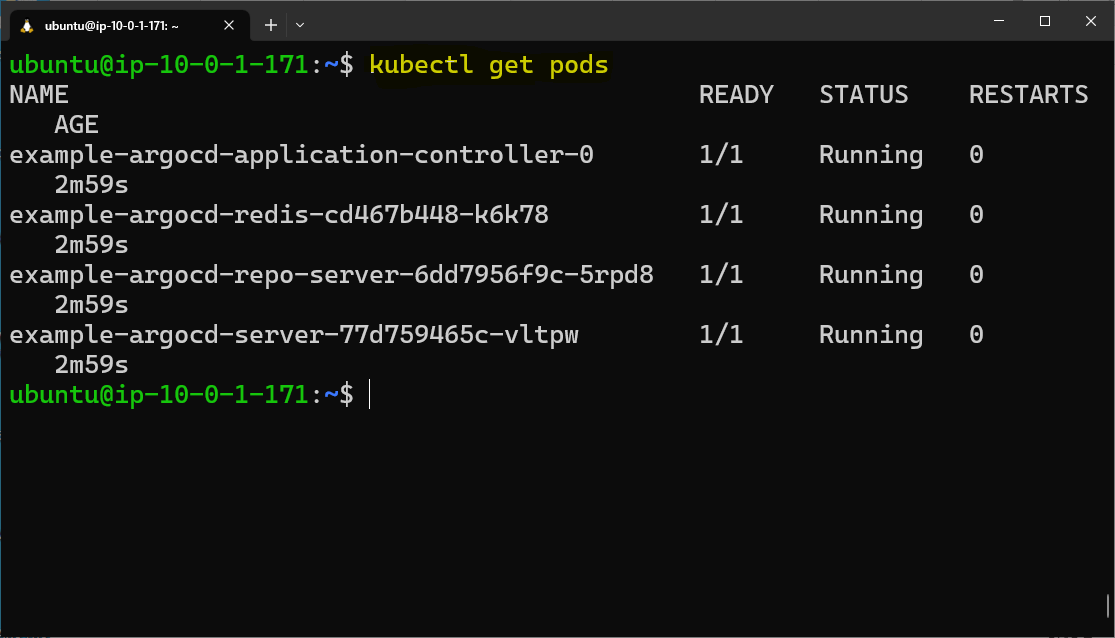
kubectl apply -f argocd-basic.yml


Make the ArgoCD server accessible from the web browser for UI

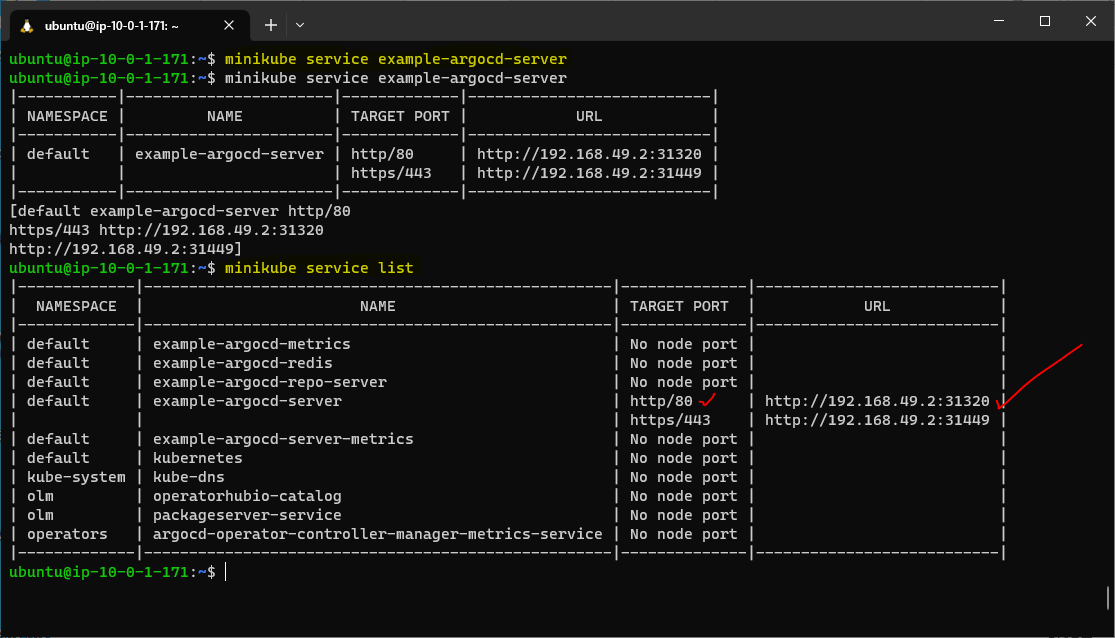
kubectl port-forward --address 0.0.0.0 svc/example-argocd-server 31320:80

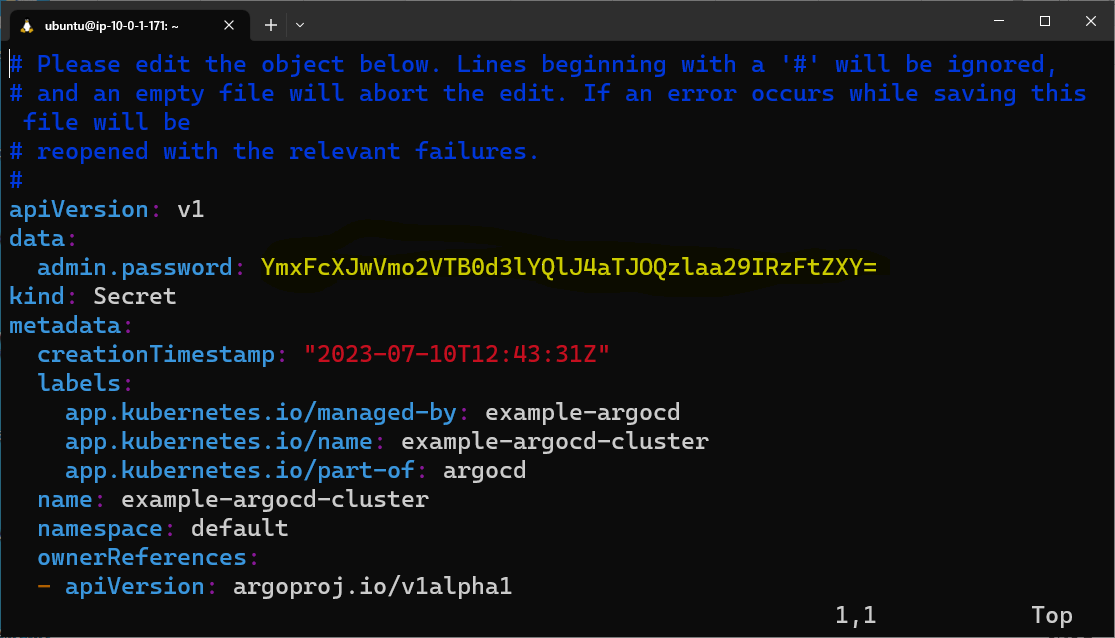
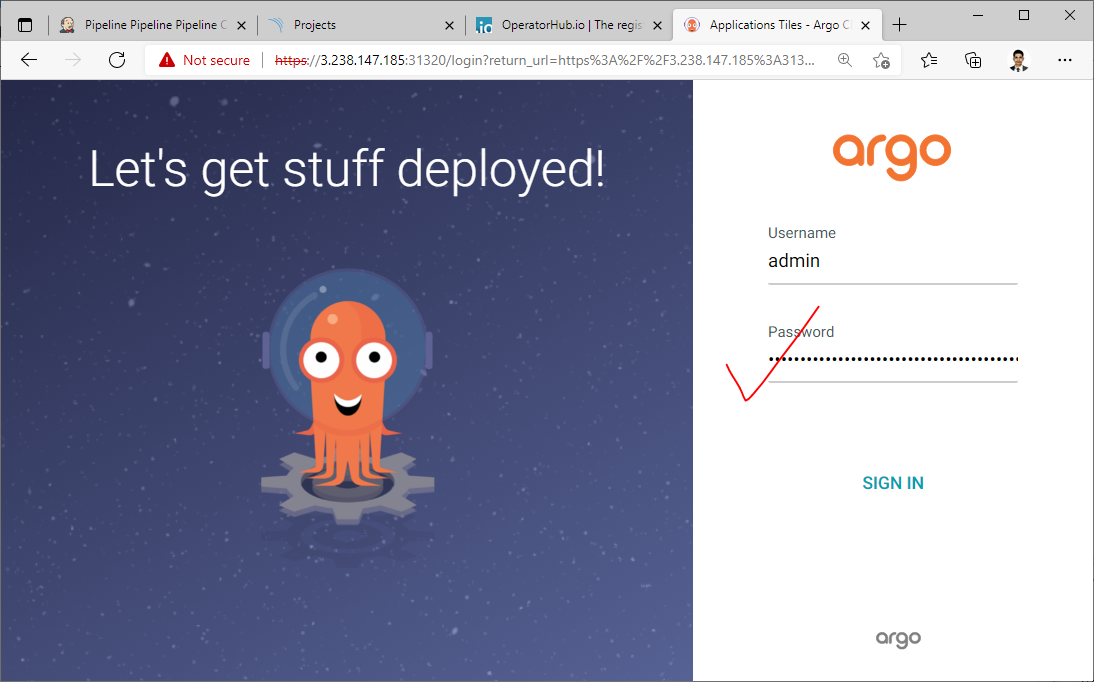
Access ArgoCD UI and log in using default credentials

kubectl edit secret example-argocd-cluster

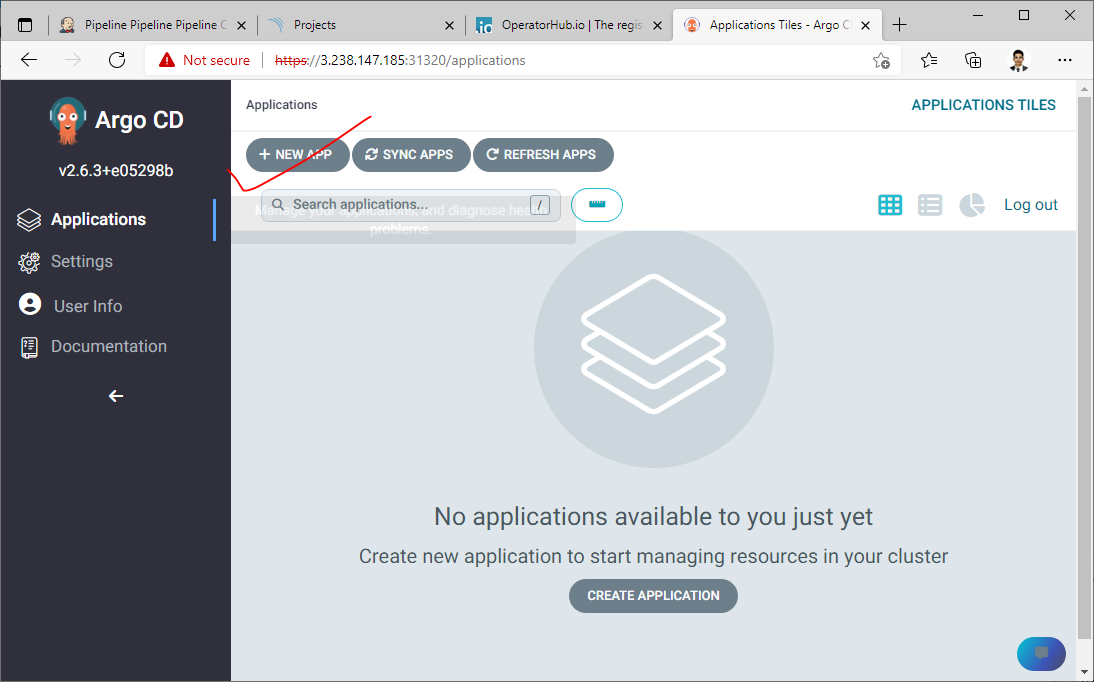
Create a New application for deployment using configuration files of the project repository


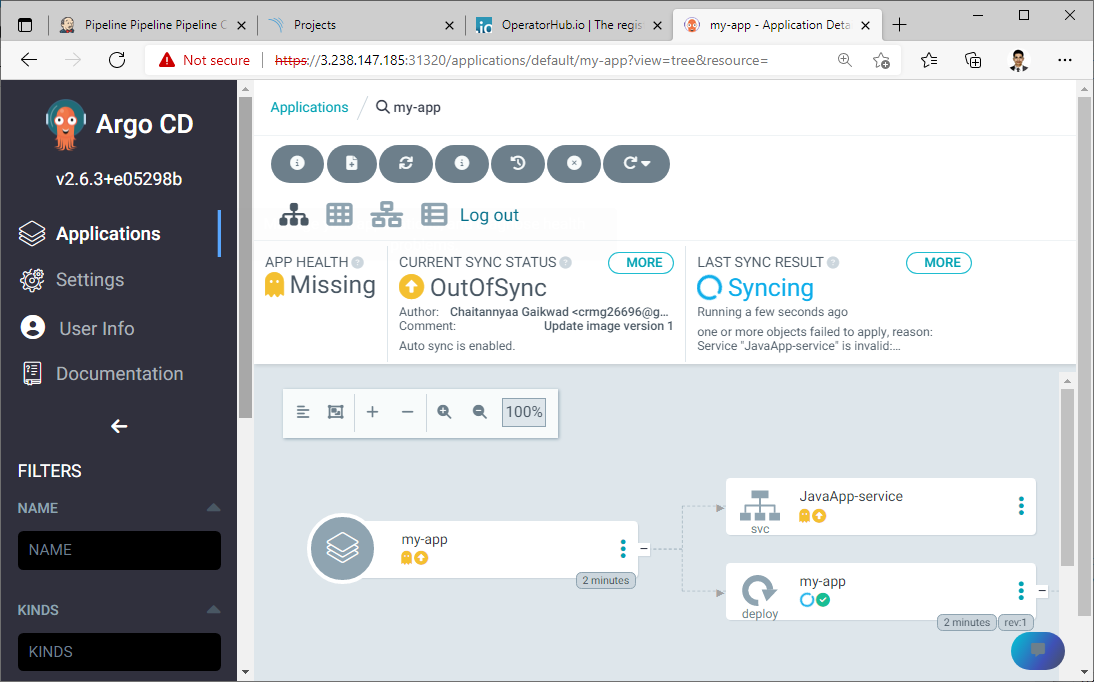


We can check deployed services and pods for our Java application

Access your Java Web application deployed using CICD --->

Thank you for reading!
In this blog post, we successfully deployed a Java web application using a CI/CD pipeline involving Jenkins, Maven, SonarQube, Docker, ArgoCD and Kubernetes. We automated the build, test, analyze, package and deploy stages in a declarative Jenkins pipeline.
Implementing a CI/CD pipeline for your applications brings numerous benefits:
Faster release cycles by automating repetitive tasks
Higher code quality through continuous testing and analysis
Improved stability with automated deployment verification
Reliable rollbacks in case of issues
Better visibility into the deployment process
Easy integration of new team members
While setting up a CI/CD pipeline requires some initial effort, the long term gains in productivity, code quality and reliability far outweigh that effort. CI/CD has now become an essential practice for any modern software development team.
To conclude, implementing CI/CD pipelines for your applications can be transformational. It helps you develop, test and release software faster and with more confidence. I hope this blog post helped you understand the basics of setting up a CI/CD pipeline for a Java web application.
I hope you learned something today with me!

Stay tuned for my next blog on "DevOps Project-2". I will keep sharing my learnings and knowledge here with you.
Let's learn together! I appreciate any comments or suggestions you may have to improve my learning and blog content.
Thank you,
Chaitannyaa Gaikwad


